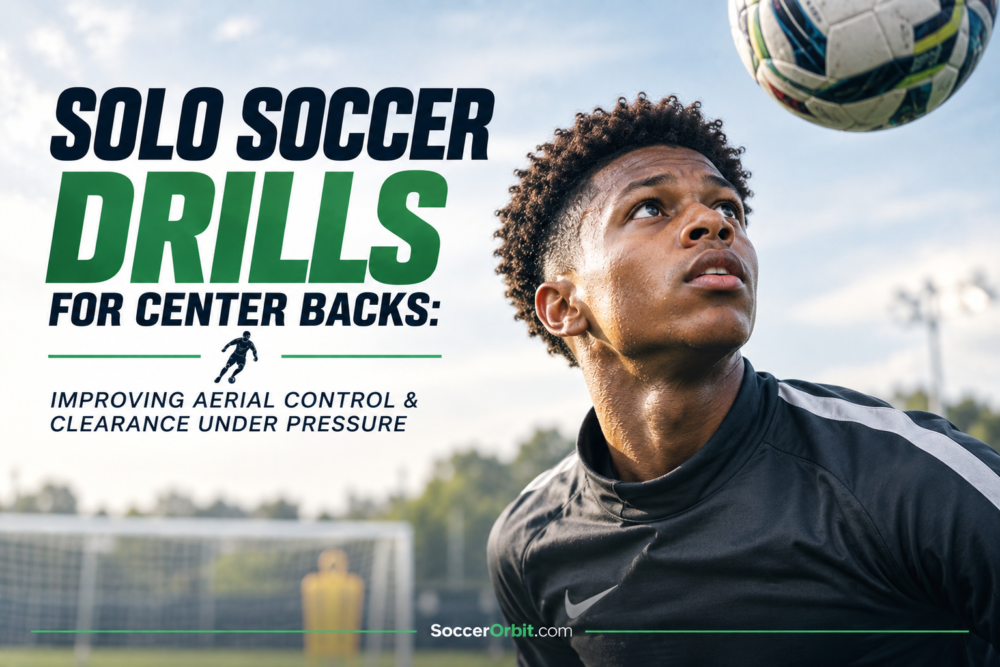
Solo soccer drills can sharpen one of the position’s least glamorous but most valuable skills: dealing with a ball arriving from the sky when there is very little time to think, space to breathe, or room for a poor first contact.
A center back rarely gets the luxury of receiving a lofted ball in an empty field, taking three touches and deciding where it would look nicest in the highlight reel. Usually, the ball is dropping somewhere near the penalty area, an opponent is leaning into the defender, the goalkeeper is shouting, and another attacker is already hunting the second ball.
The job is wonderfully simple in theory: read it, win it, clear it, recover.
FIFA’s technical material treats aerial duels as contests in which players compete for a ball coming from above shoulder height, with the winner being the player who makes first contact.
Its coaching work with centre-backs also repeatedly emphasises positioning, body posture, communication, and getting both distance and height on clearances.
That gives us a useful starting point for solo work. You are not merely practising heading. You are training the sequence around the header.
What a Center Back Should Train
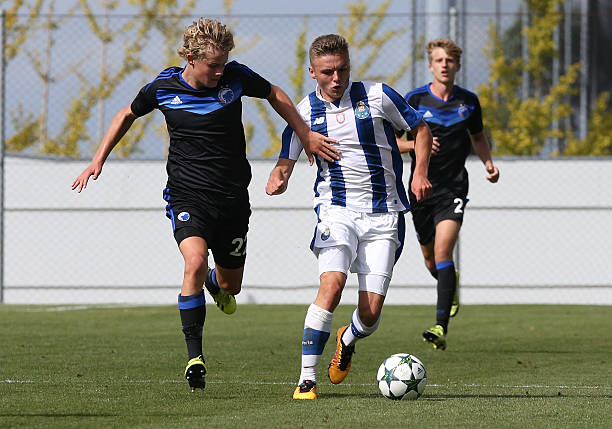
A good aerial defender needs more than jumping ability because the decisive moment often arrives before the ball reaches head height.
The player must first judge the flight, adjust their feet, establish a useful body position, locate the danger, attack the ball rather than wait underneath it, and then direct the clearance away from the immediate threat. FIFA’s recent work on Nigeria’s young defenders highlighted this same relationship between body shape and anticipation, noting how centre-backs adjusted between side-on and front-facing positions according to whether the ball was played behind or in front of them.
That is why the best solo drills combine ball flight, movement, orientation and a target rather than producing endless stationary headers.
The following progression can be done alone with a ball, a wall or rebounder, and a few cones or objects to mark zones.
READ ALSO | 15-Minute At-Home Soccer Ball Mastery Routine
1. The self-toss Aerial Control Drill
Start with the simplest version because control under pressure becomes much easier to understand once the basic contact is reliable.
Set-up:
- Stand in a 5 to 7-metre area.
- Hold the ball in both hands.
- Toss it 2 to 3 metres above your head.
- Move underneath it rather than remaining planted.
- Head the ball toward a marked target 5 to 8 metres away.
Step by step:
- Toss the ball slightly forward rather than directly above yourself.
- Take small adjustment steps while tracking its flight.
- Get your body underneath the dropping ball without leaning backwards.
- Attack the ball at its highest comfortable point.
- Contact it with the forehead rather than the top of the head.
- Direct the clearance toward your target.
- Recover immediately and repeat from a different starting position.
The key detail is movement. A center back who can head a perfectly placed ball while standing still has learned only the easiest version of the problem.
FIFA’s coaching material on heading stresses timing and body adjustment, while its grassroots work encourages players to practise different types of heading, including controlling headers toward a teammate and directing headers with power.
Make it harder
Toss the ball slightly behind you, then turn and attack it.
Next, begin facing sideways before opening your hips toward the ball. This starts to resemble the awkward body adjustments that occur when defending balls played over a defensive line.
2. Backpedal, Turn and Clear
This is one of the most useful solo exercises for defenders who struggle when the ball travels over their shoulder.
Place a cone about 8 metres in front of you and another 4 metres behind it.
Step by step:
- Start facing the forward cone.
- Toss the ball high and slightly behind your shoulder.
- Backpedal for two or three steps.
- Turn your hips toward the dropping ball.
- Accelerate into the space where you expect it to land.
- Attack the ball rather than waiting for it.
- Head it toward a wide target zone.
- Sprint five metres after the clearance.
The final sprint matters because a clearance is rarely the end of the defensive action. FIFA’s analysis of high-level centre-backs repeatedly connects body orientation with anticipation, particularly when defenders have to judge whether danger is developing in front of them or behind them.
A useful rule is to imagine that the five-metre sprint represents the recovery movement after your clearance. Your brain should begin associating the header with the next defensive action.
3. The Two-Target Clearance Drill
A center back should not develop the habit of clearing every ball straight forward, especially when that simply returns possession to the opponent.
Create three zones:
Left clearance zone | Central danger zone | Right clearance zone
Stand in the central zone and toss the ball above yourself from different angles.
Your objective is to clear into either the left or right zone while avoiding the central area.
Step by step:
- Toss the ball slightly left.
- Adjust your feet and attack the ball.
- Angle your forehead toward the left target.
- Clear beyond the central danger zone.
- Repeat toward the right.
- Alternate randomly rather than following a predictable pattern.
This teaches directional clearance rather than distance alone.
FIFA classifies clearances according to the preceding defensive situation, including cross clearances, loose-ball clearances, interception clearances, attempt-at-goal clearances and set-play clearances, which is a useful reminder that not every clearance arrives from the same picture.
The practical question for a defender is therefore not simply, “Can I clear it?” It is, “Where does the danger go if I clear it there?”
4. Wall Pass, Bounce and Emergency Clearance
Now bring pressure into the exercise without needing another player.
Stand 8 to 10 metres from a sturdy wall or rebounder. If you want to build more repetition around the same setup, wall work can also be used to sharpen first touch, passing weight and accuracy before adding the pressure of an aerial return.
Play the ball against the wall with enough height for it to return awkwardly, then move toward the dropping ball and clear it into a target.
Step by step:
- Pass the ball firmly against the wall.
- Use enough height to create a bouncing or aerial return.
- Move quickly into the projected landing area.
- Keep your eyes on the ball while checking your imagined opponent’s position.
- Clear first time whenever possible.
- Aim away from the central danger zone.
- Recover the rebound and repeat.
The unpredictability is the point. A center back does not get to order the incoming ball politely.
You can make the exercise more demanding by using your weaker foot for the initial pass, varying the angle of the wall pass, or beginning from a side-on stance.
5. Clearance After a Turn
This drill connects aerial defending with the uncomfortable moment when a striker is trying to get around your shoulder.
Place two cones roughly 6 metres apart and start between them.
Toss the ball high to one side, turn toward it, and clear diagonally away from the imaginary attacker.
Step by step:
- Begin facing sideways.
- Toss the ball over your outside shoulder.
- Turn quickly while keeping your eyes on the flight.
- Adjust your running line.
- Attack the ball at its highest reachable point.
- Head toward the opposite wide zone.
- Land balanced and immediately recover toward the centre.
FIFA’s technical analysis of centre-backs defending on the front foot repeatedly highlights the value of early intervention, body positioning and seeing the danger rather than allowing an attacker to arrive from a blindside position.
That makes this drill particularly useful for defenders who tend to run underneath aerial balls rather than attacking them.
6. The Pressure Clock Drill
Pressure does not have to mean another player kicking you in the ribs.
Sometimes the clock does the job.
Set a 10-second countdown on your phone and give yourself five aerial clearances to complete before time expires.
Each repetition begins from a different position.
Round 1: high ball directly in front.
Round 2: ball over the left shoulder.
Round 3: ball over the right shoulder.
Round 4: bouncing ball followed by a header.
Round 5: aerial ball followed by a recovery sprint.
The objective is not frantic movement for its own sake. You are trying to reproduce the shrinking decision window of a match.
FIFA’s work on defensive pressure describes pressure as an action designed to close down the player in possession or influence where that player can go, while its recent training methodology continues to emphasise scanning and decision-making under increasing pressure.
The solo version therefore needs a decision attached to the action, rather than merely counting successful headers.
7. The Clearance and Second-Ball Drill
This may be the most realistic exercise in the session.
Place a target 10 to 15 metres away, with another smaller target behind you representing the opponent recovering possession.
Toss the ball, clear it into the first target, then immediately turn and sprint toward a second ball that you have positioned several metres behind you.
The idea is simple: clear, recover, defend again.
A clearance that travels 20 metres but lands directly at an opponent’s feet can create another problem within two seconds. FIFA’s technical analysis has repeatedly linked defensive actions with the need for compactness, recovery and anticipation after the first intervention.
This drill helps build that habit into the movement pattern.
READ ALSO | How to Make a College Soccer Highlight Video That Coaches Will Actually Watch
How to Practise Without Overdoing Heading
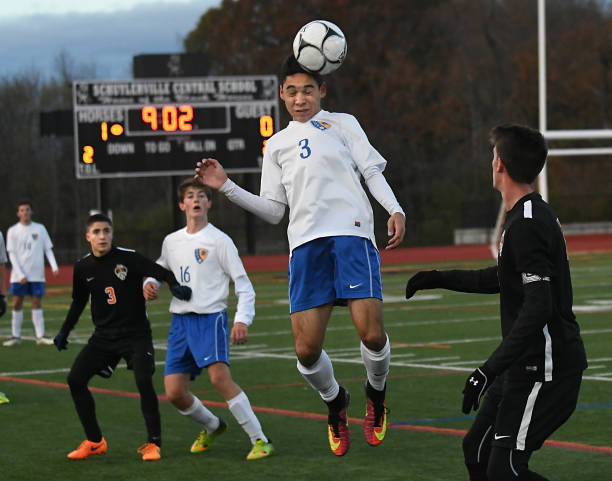
Heading work deserves sensible limits, particularly for younger players.
For example, U.S. Soccer’s current U11-U12 guidance recommends no more than 30 minutes of heading practice per week for U12 players and no more than 15 to 20 headers per player per week.
There are also competitions participating in an IFAB trial restricting deliberate heading in matches at U12 level and below, with the specific competition required to operate under the approved protocol.
So for young center backs, a good solo session should not become a competition to see who can head the most balls.
Quality matters more than volume.
Older players should still treat aerial work intelligently, particularly when fatigue begins to affect technique. A poorly timed jump, awkward landing or careless collision defeats the purpose of the exercise. The Laws of the Game also place clear limits around challenges that endanger an opponent and actions that constitute dangerous play.
A Simple 25-Minute Center-Back Solo Session
For a practical weekly session, use the drills in this order:
| Drill | Time |
|---|---|
| Self-toss aerial control | 4 minutes |
| Backpedal, turn and clear | 4 minutes |
| Two-target clearance | 4 minutes |
| Wall pass and emergency clearance | 4 minutes |
| Clearance after a turn | 3 minutes |
| Pressure clock | 3 minutes |
| Clearance and second ball | 3 minutes |
Keep the quality high and vary the starting positions instead of repeating the same comfortable ball for 25 minutes.
The best centre-back training also moves beyond the header itself. FIFA’s current defensive methodology describes individual defending as the foundation for collective defending, with players learning to apply pressure, delay attacks, protect space and recognise when to regain possession.
That is the bigger lesson behind solo work. For players training on their own, this same approach can be applied without a collection of cones or training equipment, using the ball, available space and purposeful repetition to build useful habits.
Aerial control is not about looking impressive when the ball hangs in the air. It is about arriving early enough to make the contest yours, getting your body into a position that gives you options, making first contact with purpose, and ensuring the clearance actually reduces the danger.
The best clearance often looks almost boring on television. The defender reads the flight, takes two sharp steps, wins the ball, sends it away from trouble and is already moving again before anyone has had time to admire the technique.
For a center back, that is the craft: read early, attack the ball, clear with purpose, recover immediately.
READ ALSO | How Much Does Travel Soccer Cost? Full Financial Breakdown