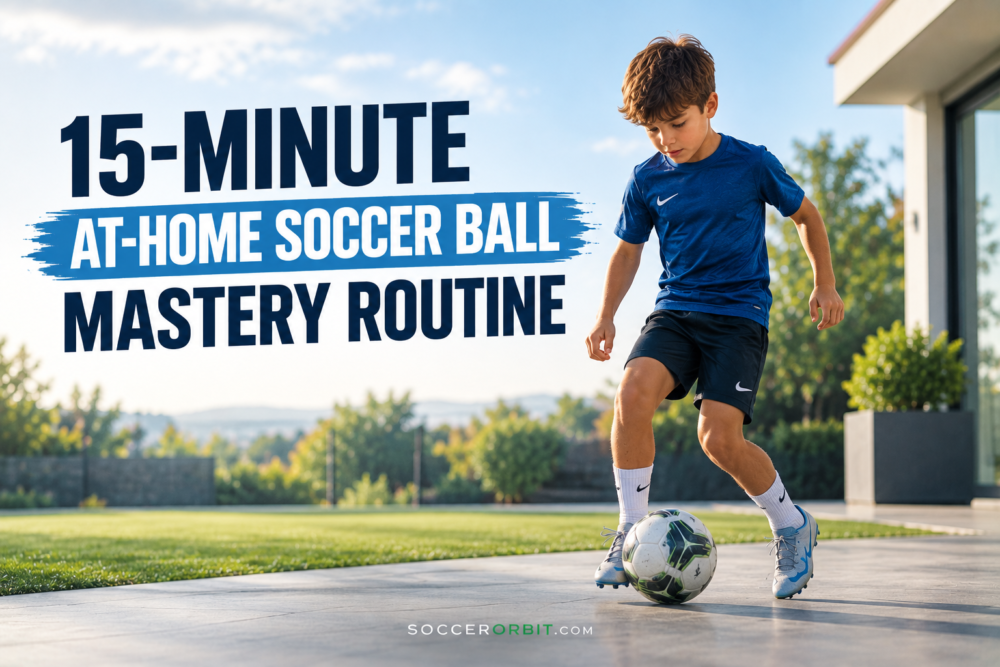
An at home soccer ball mastery routine can turn a living room, bedroom, hallway or driveway into a useful training space when bad weather, limited yard space or a busy schedule keeps you away from the pitch.
You do not need a full garden, cones, goals or a training partner to work on close control, foot speed and comfort with the ball, because a small clear area and one football can provide enough room for a focused daily session.
For young players especially, regular contact with the ball matters because ball mastery is built through repeated opportunities to manipulate the ball in different directions, at different speeds and with different parts of the foot. England Football places strong emphasis on giving young players plenty of ball contact while developing confidence and control.
The aim of this 15-minute routine is simple, with every minute having a job and every exercise designed to work inside a surprisingly small space.
Before You Start, Make the Space Safe
Indoor soccer drills for small spaces should begin with the room rather than the football, because a technically useful session quickly becomes a bad idea when the player is worried about knocking over a television, slipping on a rug or damaging furniture.
Choose the clearest section of floor available, move fragile objects away from the training area and remove anything with sharp edges that could become a problem if the ball escapes your control.
A normal football can work outdoors, but a softer training ball or reduced-bounce ball is usually a better choice indoors, particularly for younger players who are still developing their touch and may occasionally misjudge a movement.
Parents can also create a small training square using harmless markers such as socks or pieces of clothing, giving the player a visual boundary without filling the room with equipment.
Minutes 0 – 3: Ball Familiarity
Begin with simple touches that allow you to feel the ball underneath your feet before introducing faster movements, because the opening minutes should prepare your coordination rather than immediately test its limits.
Start with alternating sole touches, placing the sole of your right foot on top of the ball before transferring your weight and touching it with the left foot, gradually increasing the rhythm while keeping your upper body relaxed.
Move into inside touches, using the inside of each foot to shift the ball from side to side while keeping it within one comfortable step, then introduce gentle outside touches without allowing the ball to travel beyond your small training area.
The objective here is not to produce the highest possible number of touches, because a young player who rushes through every movement can reinforce poor control while believing the session is going well.
England Football describes ball mastery as the ability to manipulate and manoeuvre the ball in different directions and speeds using different parts of the foot and body, which makes this opening section particularly useful for younger players.
READ ALSO | The MLS NEXT Pro Pathway: How Players Go Pro Without College
Minutes 3 – 6: Foundations for Quick Feet
Now raise the tempo with movements that challenge both feet while keeping the ball almost stationary, creating the kind of close-control work that can fit inside a bedroom or narrow hallway.
Perform alternating toe taps for around 30 seconds, then switch to inside-outside touches with one foot before changing sides and repeating the movement with your weaker foot.
Follow that with sole rolls, dragging the ball from one side of your body to the other with the bottom of your foot while keeping your knees slightly bent and your weight ready to move.
Add a few controlled pull-push movements, dragging the ball backward with the sole before pushing it forward with the same foot, then repeat on the opposite side.
For younger players, the focus should remain on rhythm and control rather than speed, because U9 players can gain plenty from learning how the ball reacts to different surfaces of the foot before they start worrying about performing advanced combinations.
U.S. Soccer’s age-group guidance also places ball activities and fundamental skills such as dribbling, running with the ball and receiving at the centre of early player development.
Minutes 6 – 9: Close-Control Turns
This section takes the ball from simple touches into movements that resemble situations players regularly encounter during matches, particularly when space disappears around them.
Push the ball forward two or three touches, stop it with the sole, drag it backward and turn your body with the movement before repeating the sequence in another direction.
Next, use an inside cut by pushing the ball forward with your right foot before cutting it across your body with the inside of that same foot, then repeat the movement on the left.
Once that feels comfortable, introduce an outside cut where you take the ball forward and use the outside of your foot to move it away from the direction you were originally travelling.
These movements become more useful when you keep your touches small enough to remain balanced, because the purpose of close control is to keep the ball available for your next action rather than sending it several steps away.
England Football recommends giving young players opportunities to combine individual skills once they become comfortable with them, eventually moving those techniques toward more game-like situations where players have to make decisions with the ball.
Minutes 9 – 12: The Small-Space Dribbling Challenge
Create a square roughly two to three metres across, depending on the room available, then challenge yourself to keep the ball inside that area while changing direction every few touches.
Use the inside, outside and sole of both feet, alternating between slow controlled movements and short bursts where you accelerate for two or three touches before immediately bringing the ball back under control.
Every time you reach the edge of your imaginary square, perform a turn rather than allowing the ball to escape, which forces you to constantly adjust your body position and think about where the next touch needs to go.
This is where indoor soccer drills small space can become surprisingly demanding, because reducing the available area forces you to take smaller touches and make directional changes more frequently.
The FA’s coaching material repeatedly highlights the value of close control, staying on the ball and developing confidence in tight areas, particularly during the foundation years when players are learning how to manage the ball under pressure.
Minutes 12 – 14: Weak-Foot Challenge
Give your weaker foot two uninterrupted minutes, because home practice provides one of the easiest opportunities to correct the imbalance that develops when players naturally favour their dominant side.
Start with 30 seconds of sole touches, followed by 30 seconds of inside touches, then spend the final minute combining simple pushes, pulls and turns while deliberately using the weaker foot whenever the movement allows.
Do not worry if the weaker side feels awkward at first, because the purpose of this section is to give that foot more experience rather than expecting it to perform at the same level immediately.
Parents can make this section more enjoyable by recording the number of controlled touches completed during one session and allowing the player to try beating that number during a later session without turning every practice into a competition.
Minute 14 – 15: The One-Minute Ball Mastery Test
Finish with one minute where the player chooses five movements from the session and links them together without stopping, creating a short sequence that demands control, concentration and memory.
A possible combination could include ten toe taps, ten sole rolls, an inside cut, an outside cut, five pull-push movements and a controlled dribble around the small training square before starting again.
The score should come from clean repetitions rather than frantic movements, because a player who completes fewer controlled touches while maintaining excellent technique has more useful practice than someone who races through the sequence while repeatedly losing the ball.
England Football coaching discussions have also used timed ball mastery challenges where players record their repetitions and track improvement over several sessions, which can give young players a simple way to see their progress.
READ ALSO | Can American Youth Players Join European Academies: FIFA Rule 19
How Parents Can Turn 15 Minutes Into a Daily Habit
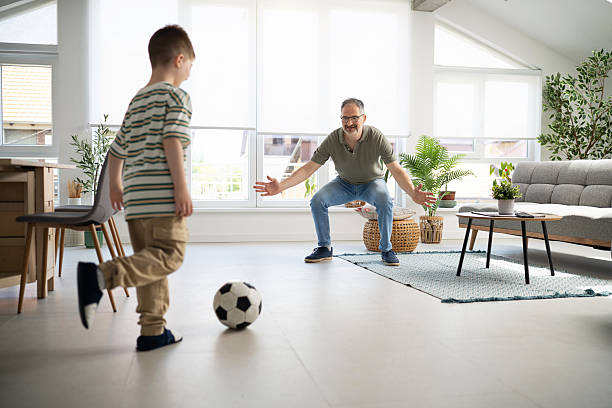
The biggest advantage of a short home session comes from making it easy enough to repeat, because a routine that takes fifteen minutes has a much better chance of fitting around school, homework, football training and family life than an ambitious hour-long programme.
You can keep the same structure throughout the week while changing the technical focus, using Monday for close control, Tuesday for turns, Wednesday for weaker-foot work, Thursday for dribbling and Friday for a mixture of everything learned during the week.
Wall-ball work can also be an easy way to build first touch and passing into these short sessions, especially when players have limited space or equipment at home.
For U9 and younger players, keeping the session enjoyable matters more than completing every exercise perfectly, while older players can increase the challenge by reducing their space, raising the speed or combining several movements without losing control.
Parents should also avoid constantly correcting every touch, because players need room to experiment, make mistakes and discover how the ball responds to different movements.
The FA’s coaching guidance encourages age-appropriate individual practice that becomes progressively more challenging as players gain confidence, rather than expecting every player to perform the same exercise at the same level.
Taking the Routine Outside

When the weather improves, the same technical ideas can move into the driveway, garden or local open space without changing their basic purpose.
Driveway soccer drills can use chalk markings, flat cones or harmless household objects to create larger training areas where the player can add acceleration after each turn and practise carrying the ball over longer distances.
Once more space becomes available, introduce movements that require three or four faster touches before changing direction, because the player now has room to connect close control with acceleration.
The progression matters because ball mastery should eventually serve football rather than remain a collection of isolated footwork tricks, with players learning to manipulate the ball before dribbling, turning, shielding, receiving or attacking space.
England Football’s coaching guidance makes a similar point by encouraging players to move from individual skills toward combinations and then into game-like situations where those skills have a purpose.
READ ALSO | Birth-Year vs. School-Year Registration in U.S. Soccer: What Parents Must Know
How Often Should Young Players Do It?
A short routine can be repeated regularly when the player remains physically comfortable and enjoys the work, with the emphasis placed on quality touches rather than exhausting the player through unnecessary volume.
For younger players, ten to fifteen focused minutes can provide plenty of technical contact, particularly when the exercises remain varied and the player has normal football sessions, games and free play throughout the week.
Older players can use the routine as a technical supplement on lighter days, especially when weather or limited space prevents them from completing a normal outdoor session.
The most useful measure is not how difficult the routine looks, but whether the player gradually becomes more comfortable receiving, moving and manipulating the ball with both feet.